
Import data from files
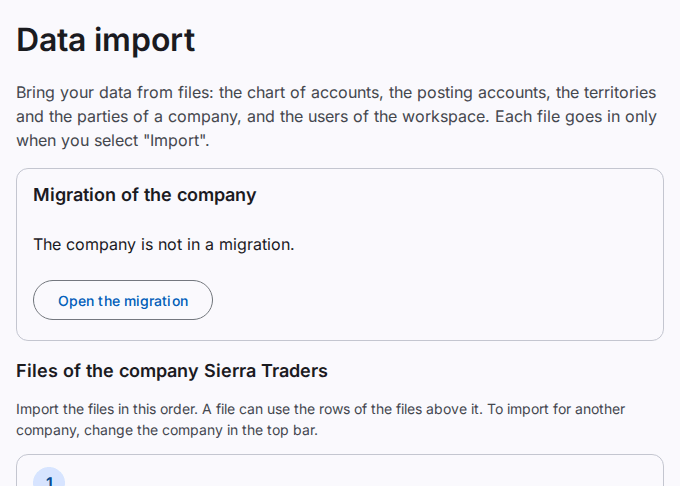
The Data import page brings the data of a company from files: the statement lines, the chart of accounts, the posting accounts, the territories and the parties. It also opens the import of the users of the workspace. A file changes nothing until you select Import.
Before you start
- The files go to the working company. To import for another company, change the company in the top bar.
- Import the files in the order of the page. A file can use the rows of the files above it. For example, a party uses a territory and the control account of its role.
- The statement lines and the chart of accounts can come from a file only while the company is Migrating and has no journal entry.
- Caution: The first import of statement lines or of accounts removes the standard chart of the company (its accounts, posting accounts and statement lines). Then import the chart of accounts and the posting accounts before other work.
- To prepare and check a file, you need Upload imports. To import a file, you also need Import data and the permission to add the records, for example Add accounts or Add parties. To change rows with a second file, you need Import and update data.
- Upload and import a file on a computer. On a phone you can see the files and their messages.
Prepare a file
- Select Settings.
- Select Data import.
- Select the name of the file type, for example Chart of accounts.
- Select Download the template file.
- Write one row on each line of the first sheet. Do not change row 1: it has the column names.
- Save the file as "Excel Workbook (*.xlsx)".
The sheet Help of the template file shows each column, its type, its meaning and an example, in English and Urdu. The page shows the same text under Columns of the file. Some columns have a list of values. A list column, for example roles or tags, takes more than one value, separated by ";". Write Y for yes and N for no. You can also upload a CSV or TSV file with the same columns.
The format of each file
Each file type has an article with its rules, its columns and an example:
- Statement lines file
- Chart of accounts file
- Posting accounts file
- Territories file
- Parties file
- Account balances file
- Customer open items file
- Supplier open items file
- Source trial balance file
Upload and check the file
- Select Select a file.
- Select your file.
The file shows under Uploaded files with the status Checking. The system checks each row. Then it tries the import without a change to the company. You see the result on this page and in the notifications.
The status is then one of these:
- Ready to import: the file has no errors. The page shows how many rows are new and how many change.
- Has errors: some rows have errors. The system imports no row.
- Refused: the system cannot use the file. Read the message.
To correct the errors, select the file name and read the Messages. Each message shows the row and the column. Select Download the error report to see all the messages. Correct your file and upload it again.
Import the file
Caution: You cannot undo an import in one step.
- Select the file name under Uploaded files.
- Select Import.
- If the file has warnings, select the check box I read the warnings (…). Import the file with them.
- Select Import in the dialog.
The system writes all the rows or no row. The history of each record shows the file and the row.
Change rows with a second file
A code that the company has already is an error. To change the rows that an earlier import made, select Update rows that an import made before you select the file. The file then changes those rows, for example the names. It never changes a row that a user typed, and it does not remove the roles of a party.
Discard a file
- Select the file name under Uploaded files.
- Select Discard.
- Select Discard in the dialog.
The system deletes the file and its rows. The company does not change. The system also deletes the file and its rows of every upload after 90 days.